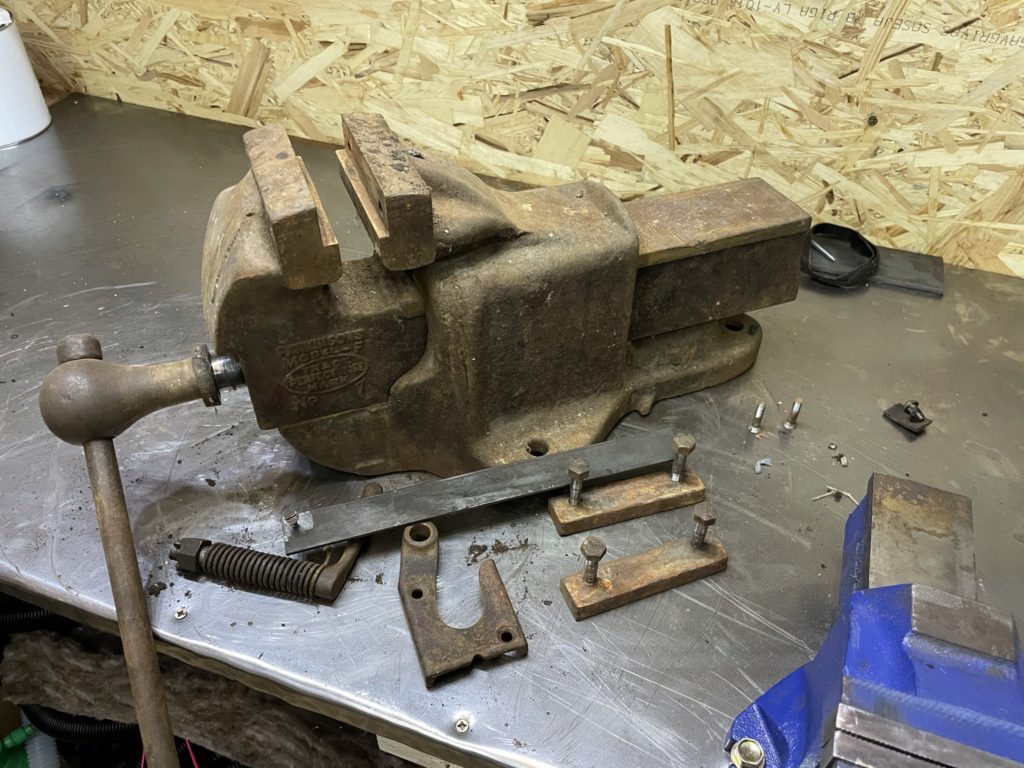
Started to strip down the vice, which is much simpler than I thought.
Off come the jaws with two bolts each, these look like imperial bolts and the threads are not so great. Set them aside.
First I turned over the vice and removed the screw holding the quick release bar and pulled out the bar which causes the spring to release. Slide off the adjuster ratchet nut and the spring.
Then two screws at the front of the vice below the handle and the mechanism comes away leaving the handle next to be removed.
Turning the vice around the screw is removed by using a drift to knock it forwards and then it can be withdrawn from the body of the vice taking care not to lose the washer at the rear of the screw that falls out as you remove the screw.

Once the screw is out, the two halves of the vice can be separated. The securing nut that engages the adjustment screw is withdrawn from above and the vice is now totally dismantled.
I gave each part a wire brushing with a grinder knotted wire brush and a bench mounted grinder with a wire brush as appropriate. The machined surfaces were treated to a flap disc and then some sandpaper to finish. Years of muck and old paint were stripped away as best I could, then everything was wiped down with a thinners soaked rag to degrease.

After degreasing, I masked up the machined surfaces ready for a coat of paint. Hammerite Smooth Red was my choice as the original vice was red.
It was about 1-2 degrees C in the shed when I painted the parts, the Hammerite was really thick and gloopy, I had to bring it inside and warm it up a bit before continuing.

I didn’t photograph any of the reassembly as there was grease everywhere but there really was not much to photograph, it was pretty simple really.
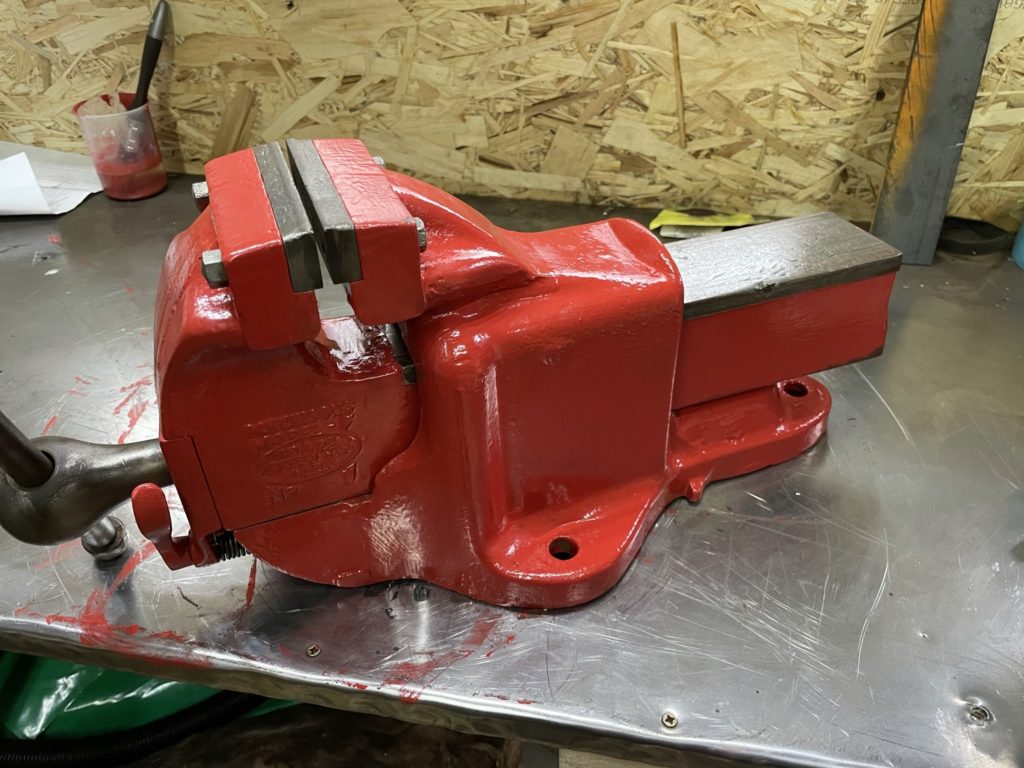
Here it is in all it’s restored glory, looking resplendent in red. I also painted the underneath that you cannot see.