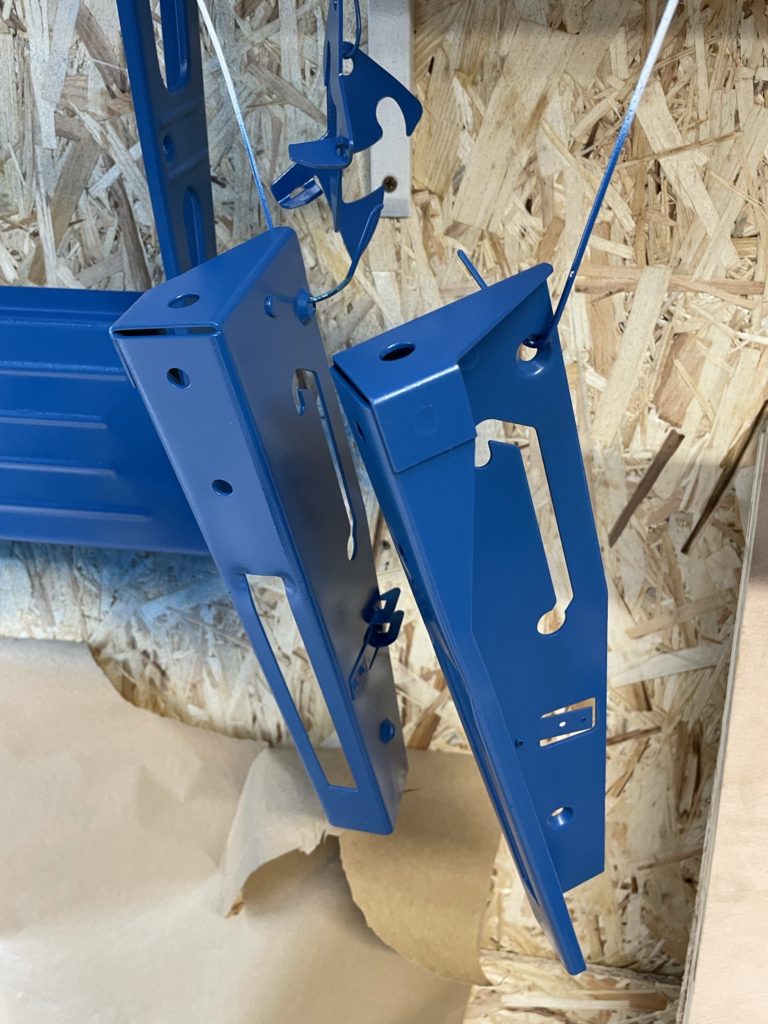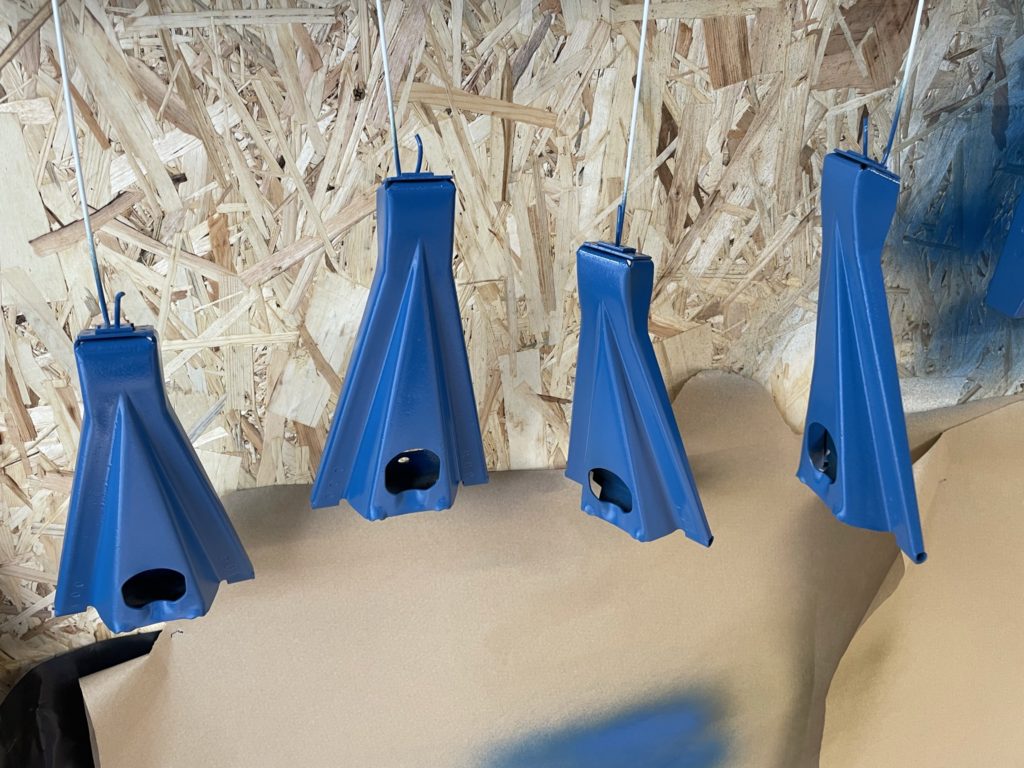
After checking the blue paint daily I am satisfied that its now hard enough to attempt [careful] reassembly.
It was pretty much a reversal of disassembly, I put the legs back on first by drifting the hinge pins back in, and then stood the bench on it’s legs. Then the aluminium H frames went back in with a blob of synthetic grease on each one and tightened up the phillips set screws but not to tight otherwise it limits the folding action.
The locking arm is next, with new 9mm starlock washers at either end, followed by the locking mechanism and the spring, not forgetting the small spacer washer and a blob of grease.
Once that was done the basic mechanism was complete and only waits the installation of the jaws, it really does go back together really quickly and is testament to the simplicity of the design.
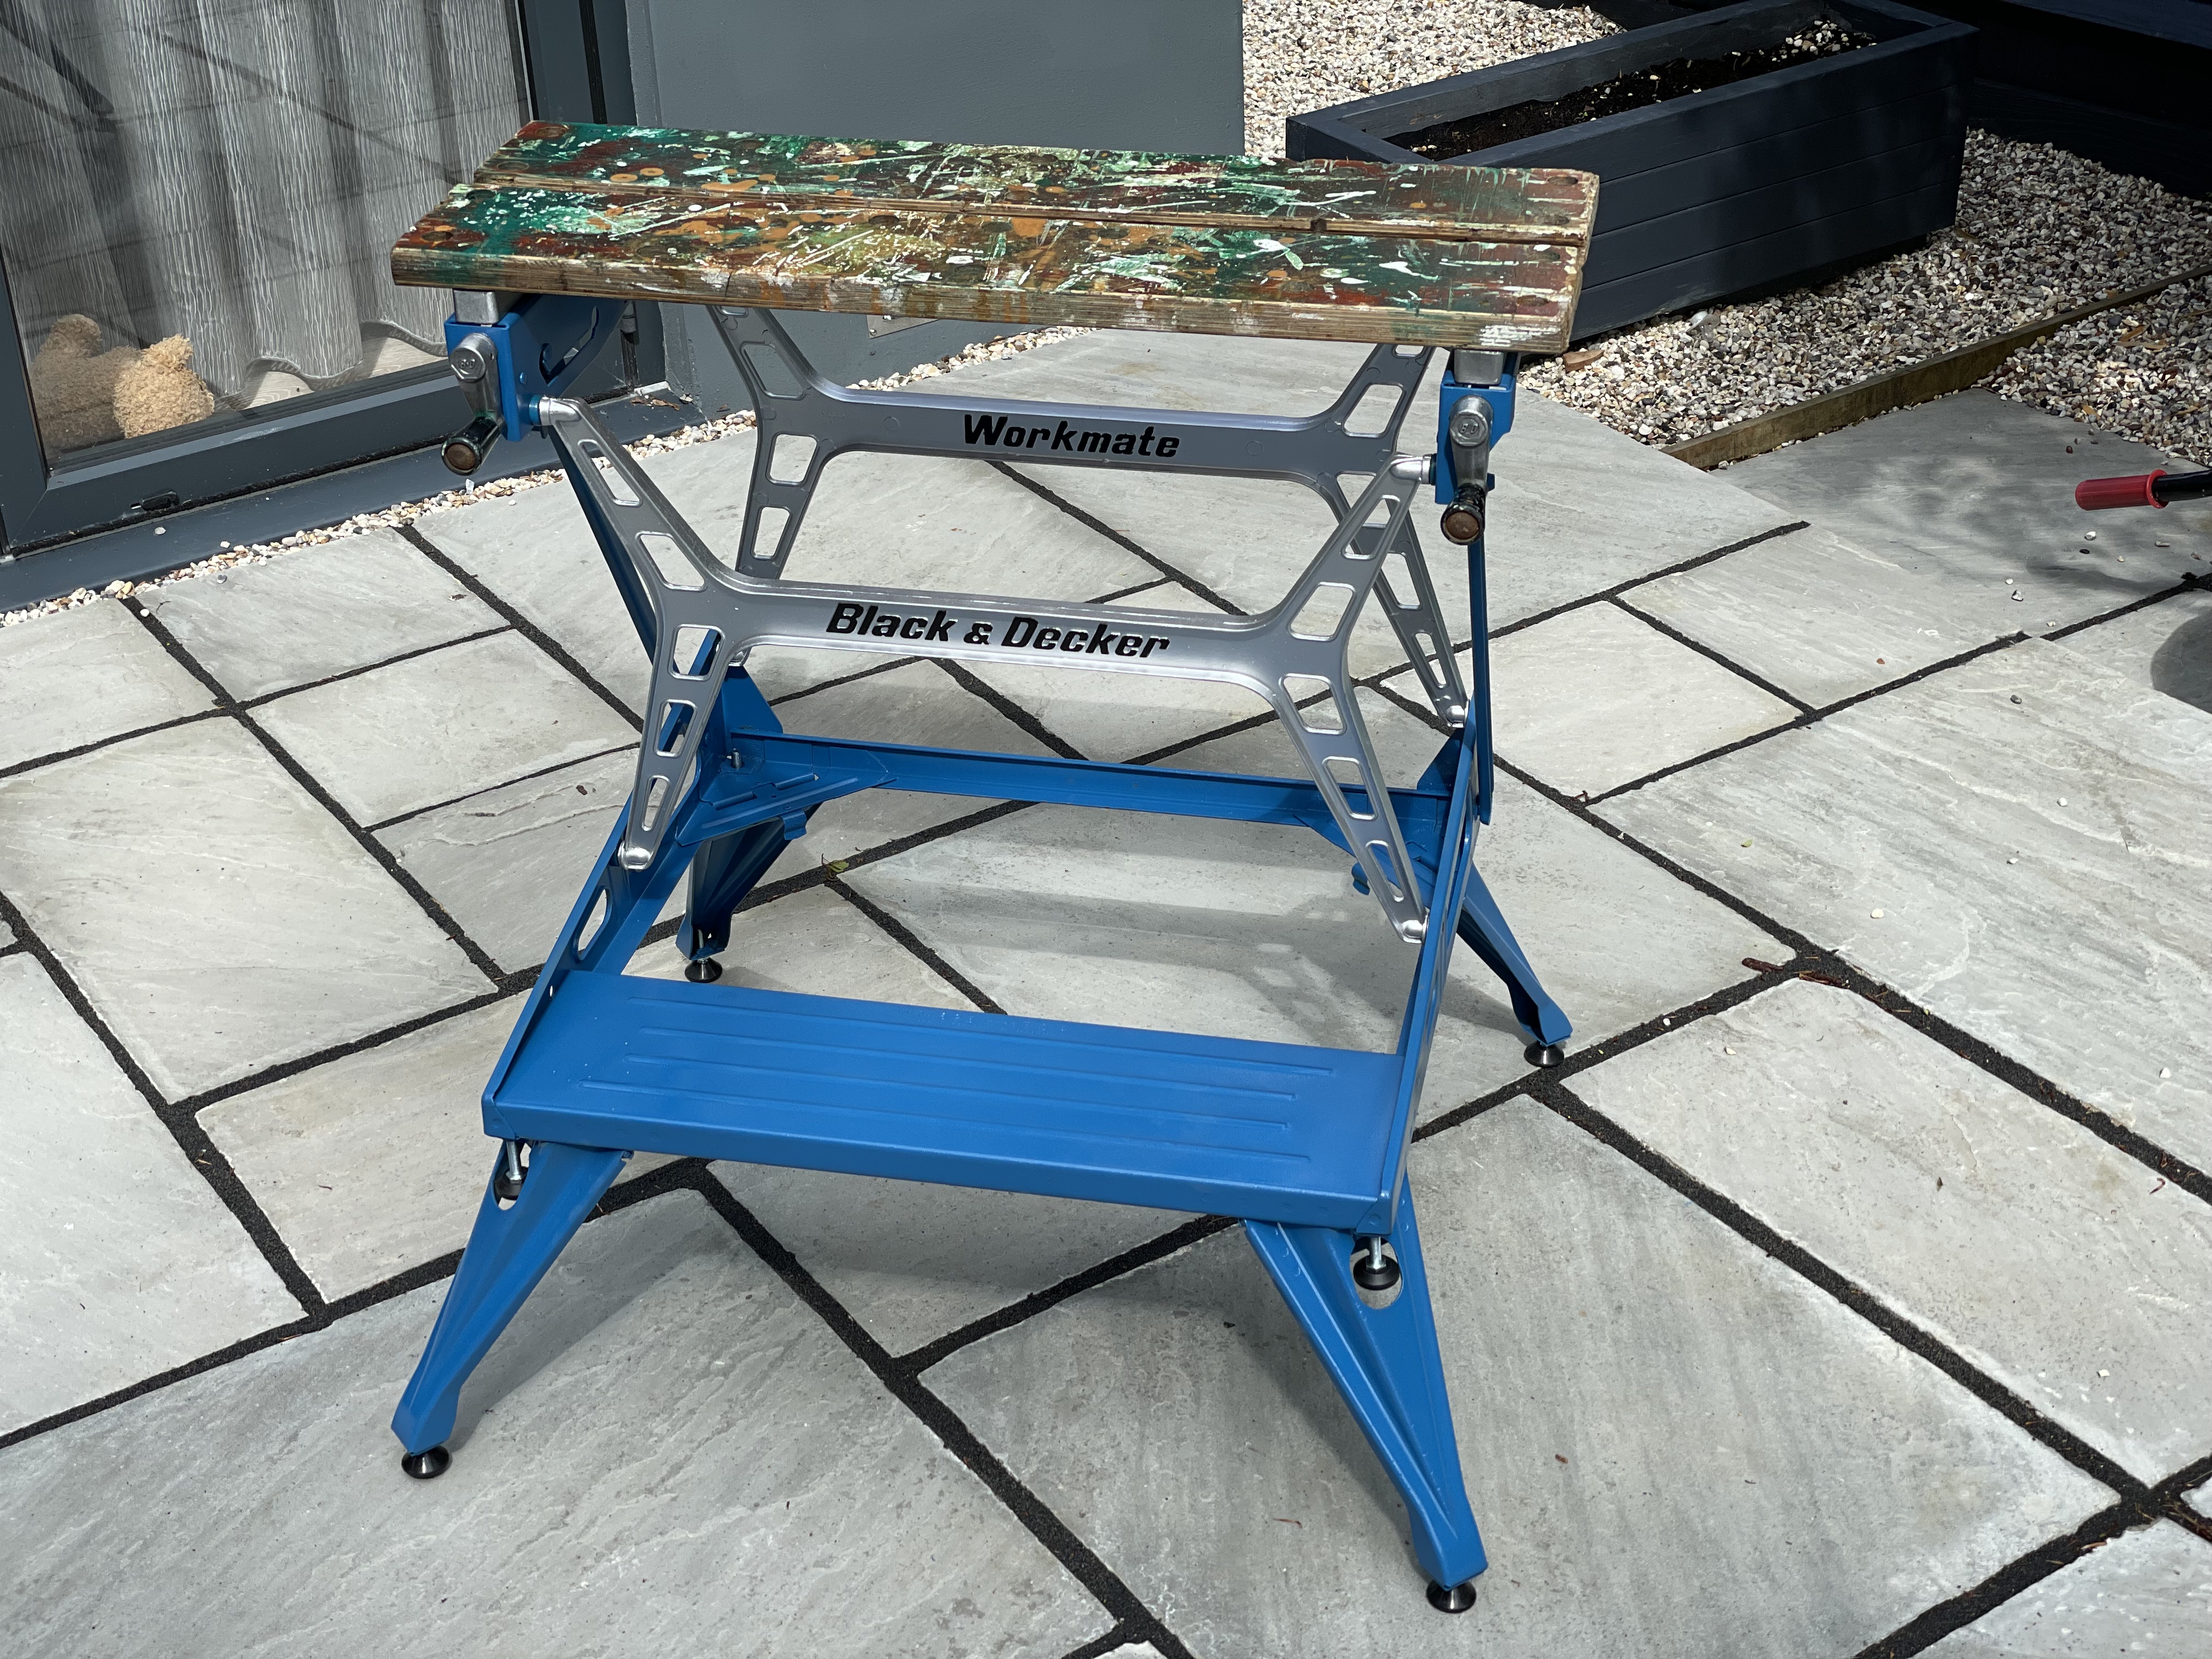
I decided to leave the jaws in their original state which is covered in multiple different shades of paint, and I just coated the plywood in a couple of layers of clear topcoat lacquer in order to preserve them as the wood was very dry, no doubt due to it’s age.
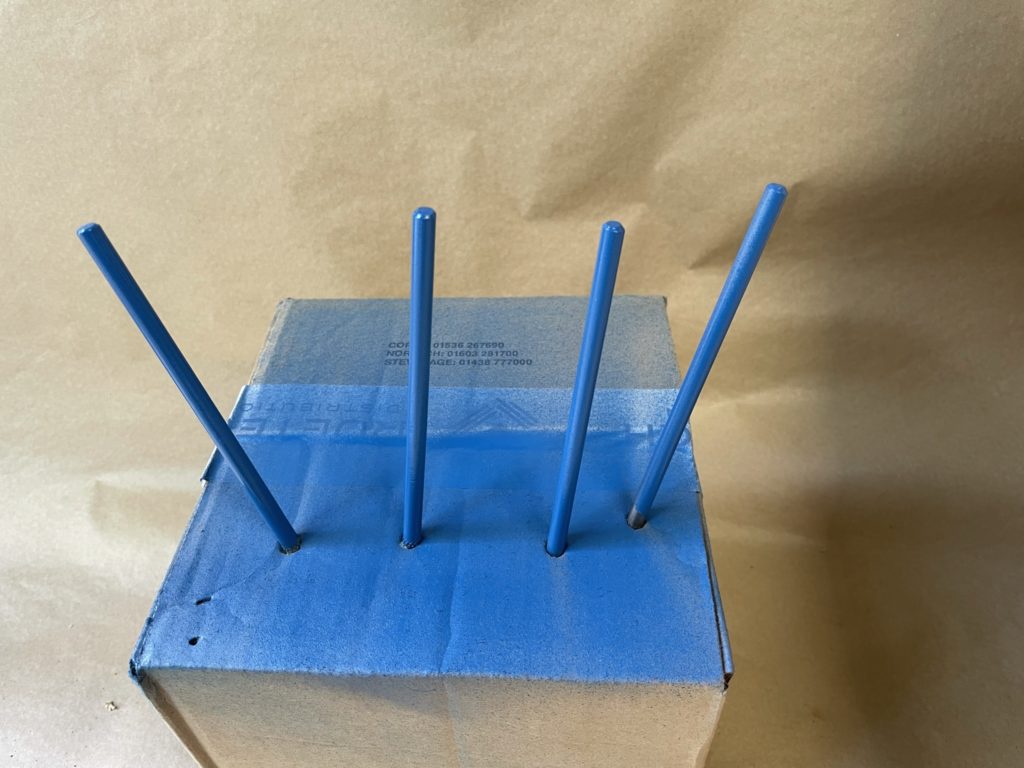
All the aluminium spacer pieces were cleaned up on the wire wheel and sprayed with a nice coat of clear lacquer before being reassembled onto the bench.
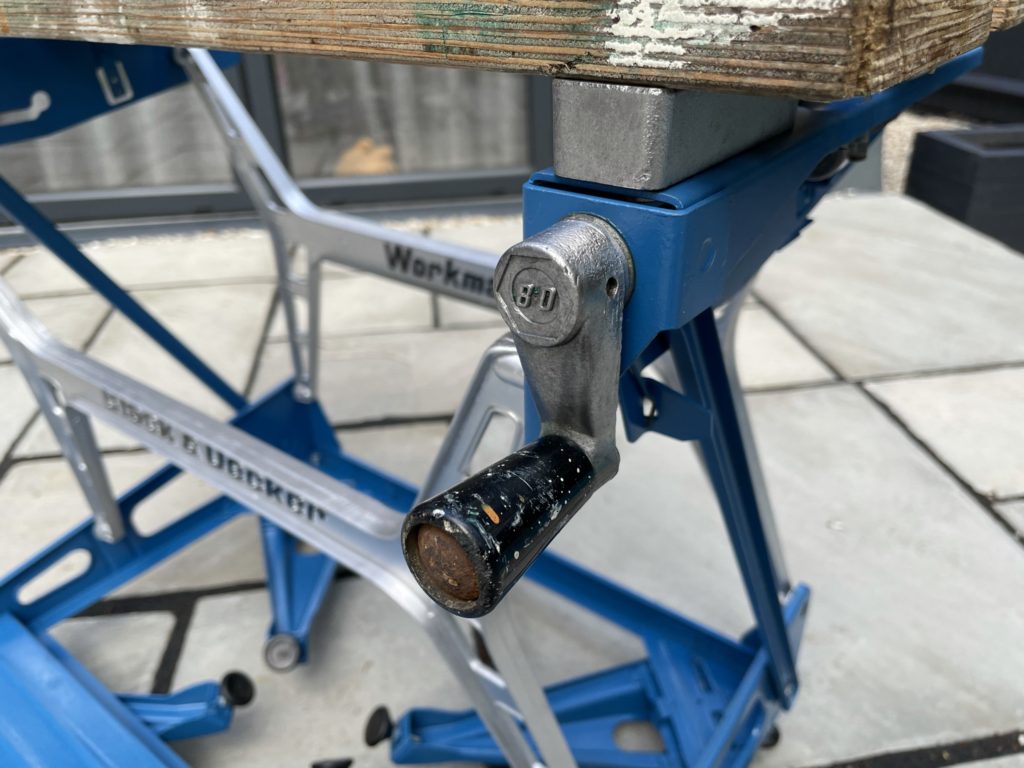
I then used some white lithium spray grease on the jaw grip screw threads and a blob of bearing grease on the washers by the handles and put them back together. Once they were in place, the handles which have also been lacquered were then reassembled and the roll pins drifted back into place.
The last thing to do was attach the new adjustable feet into place, I have gone of fixed feet on the main bench body and swivel foot types on the extension legs which give a nice solid base to the bench. I got the feet from Vital Parts online.
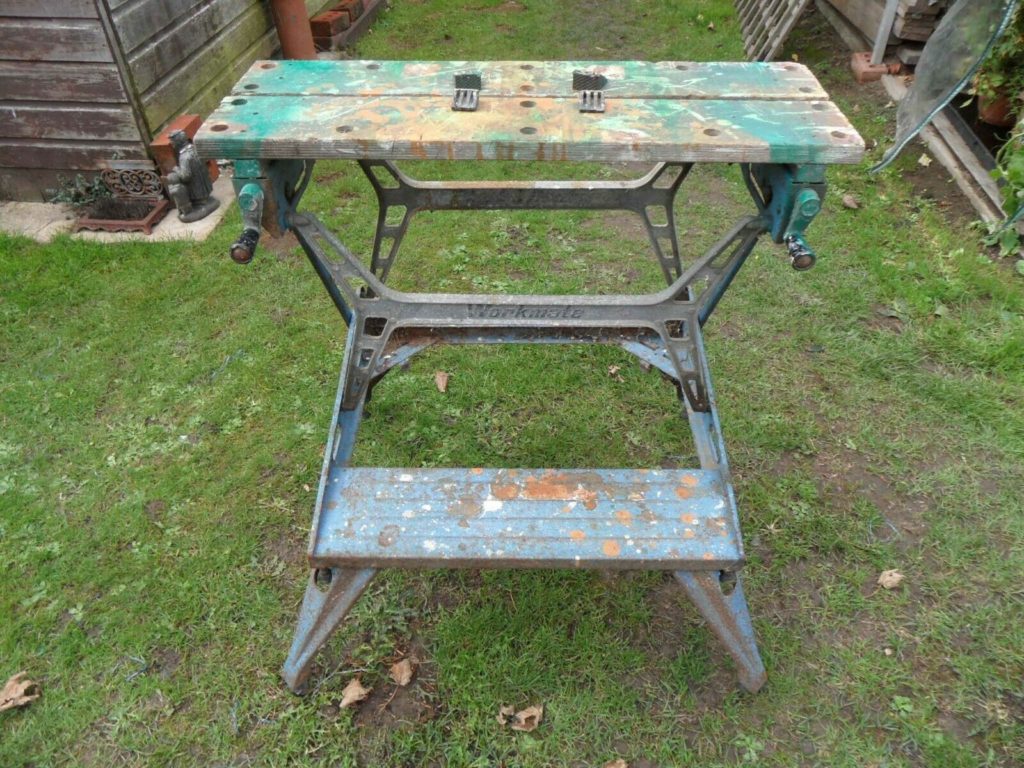
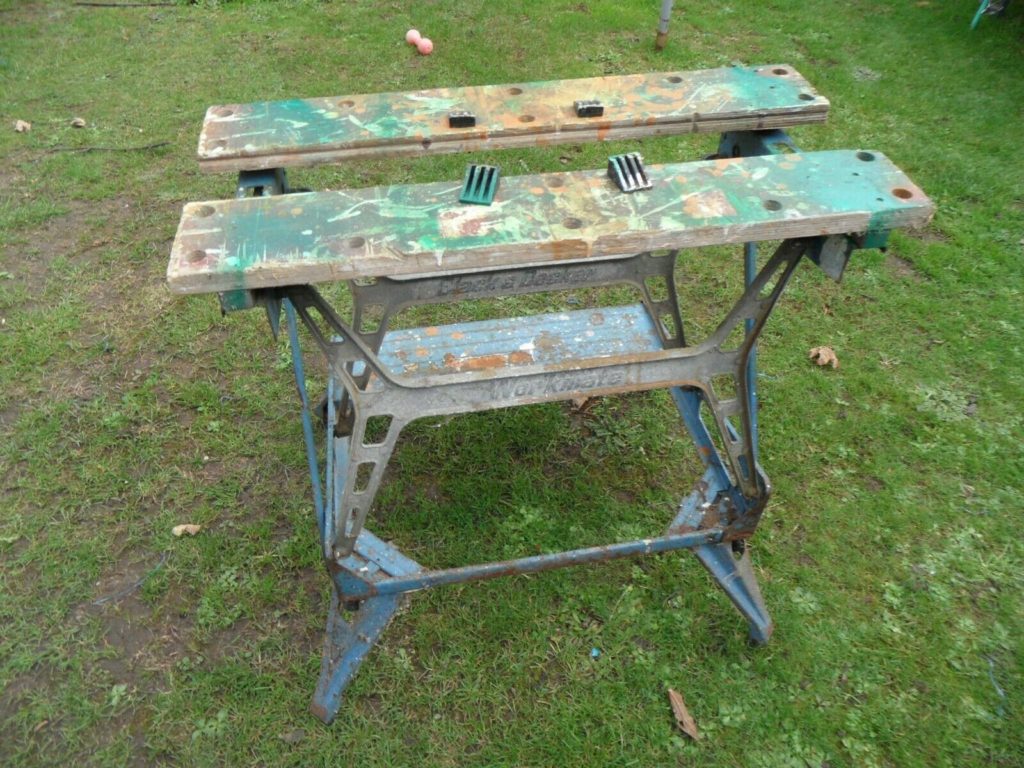
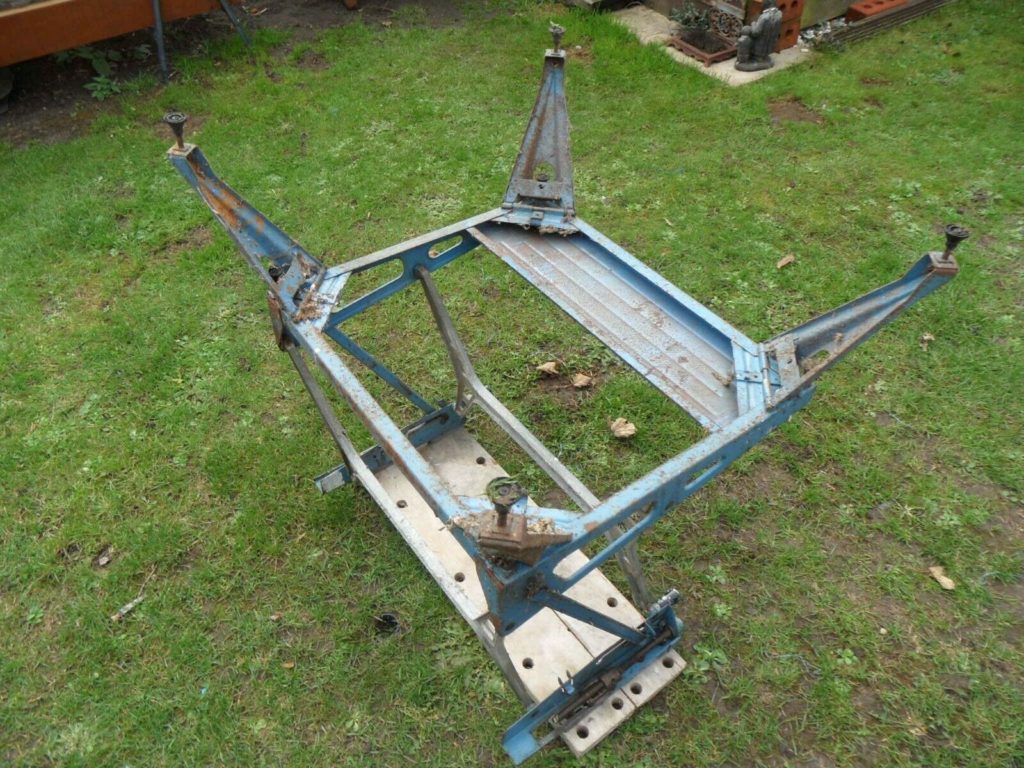
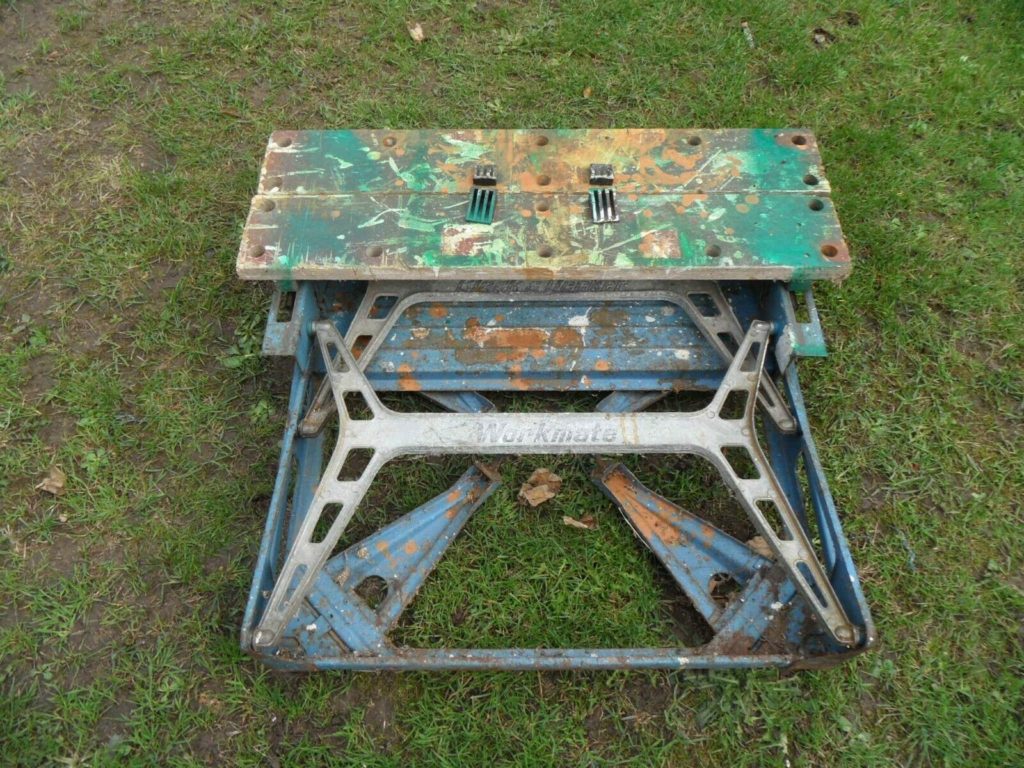
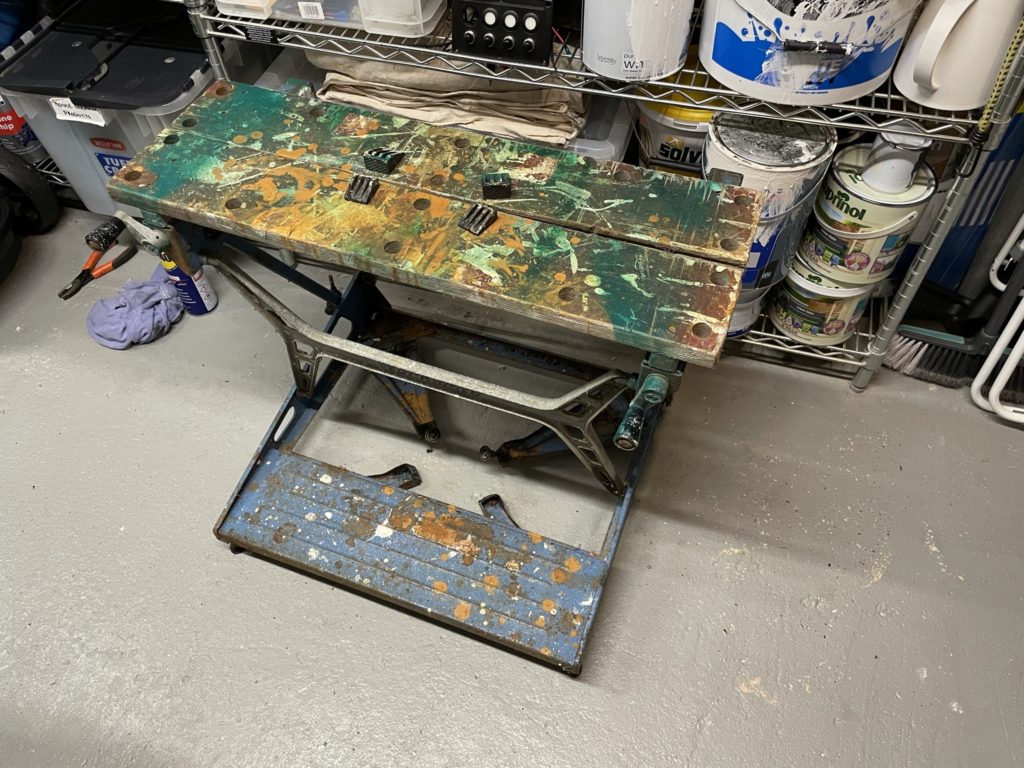
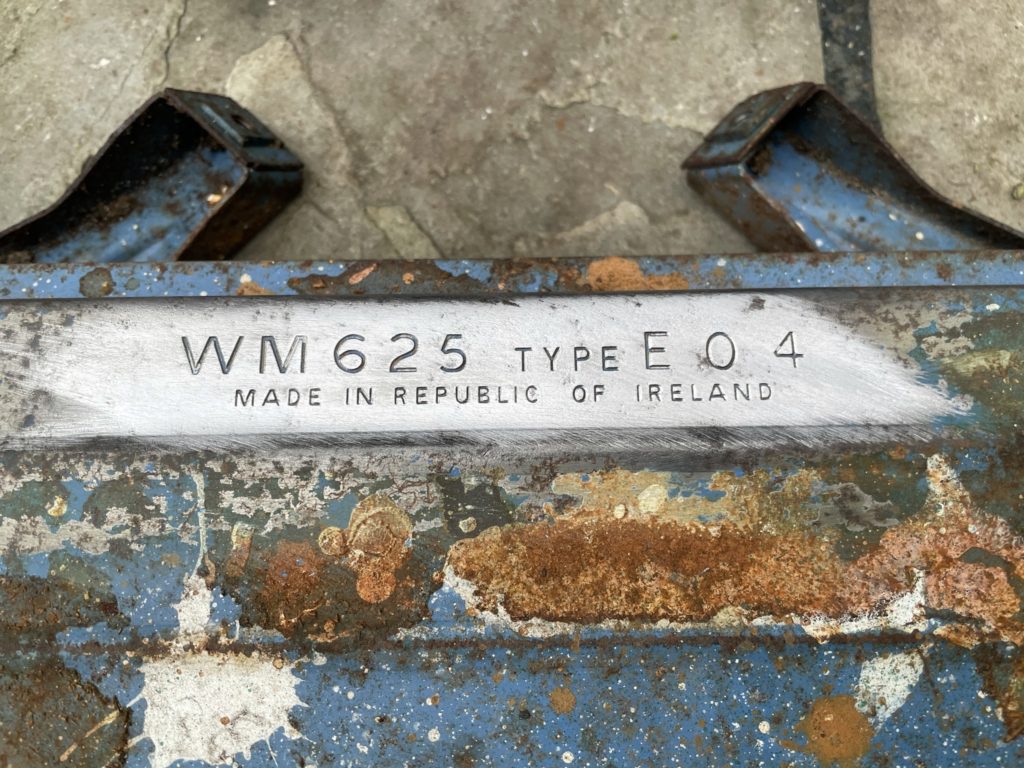
Finally, here’s a slideshow of the progress in a potted restoration history of my Black & Decker WM625 Type E04 Workmate from purchase until completion. Enjoy.