My Blog

Box Hedge Caterpillar

  • 15/09/2021

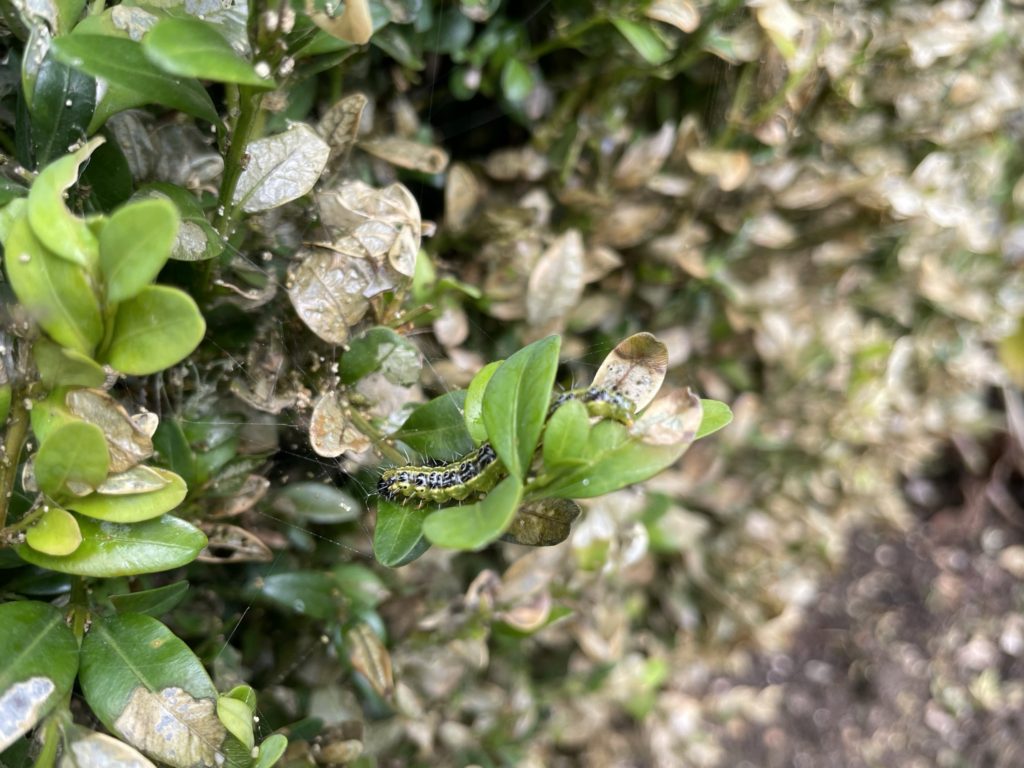
I went out to trim our hedge today and I noticed a lot of the small box hedge at the front of my garden has significant dieback. 

Upon closer inspection the hedge has a large amount of web type covering and small round creatures in the webbing. The RHS website shows this as box hedge caterpillar / moth, which is pretty damaging.

box hedge

I’ve given the hedge a good going over with Provanto which is suggested for control of this damaging caterpillar. I’ll update my blog in a couple of weeks with the result.

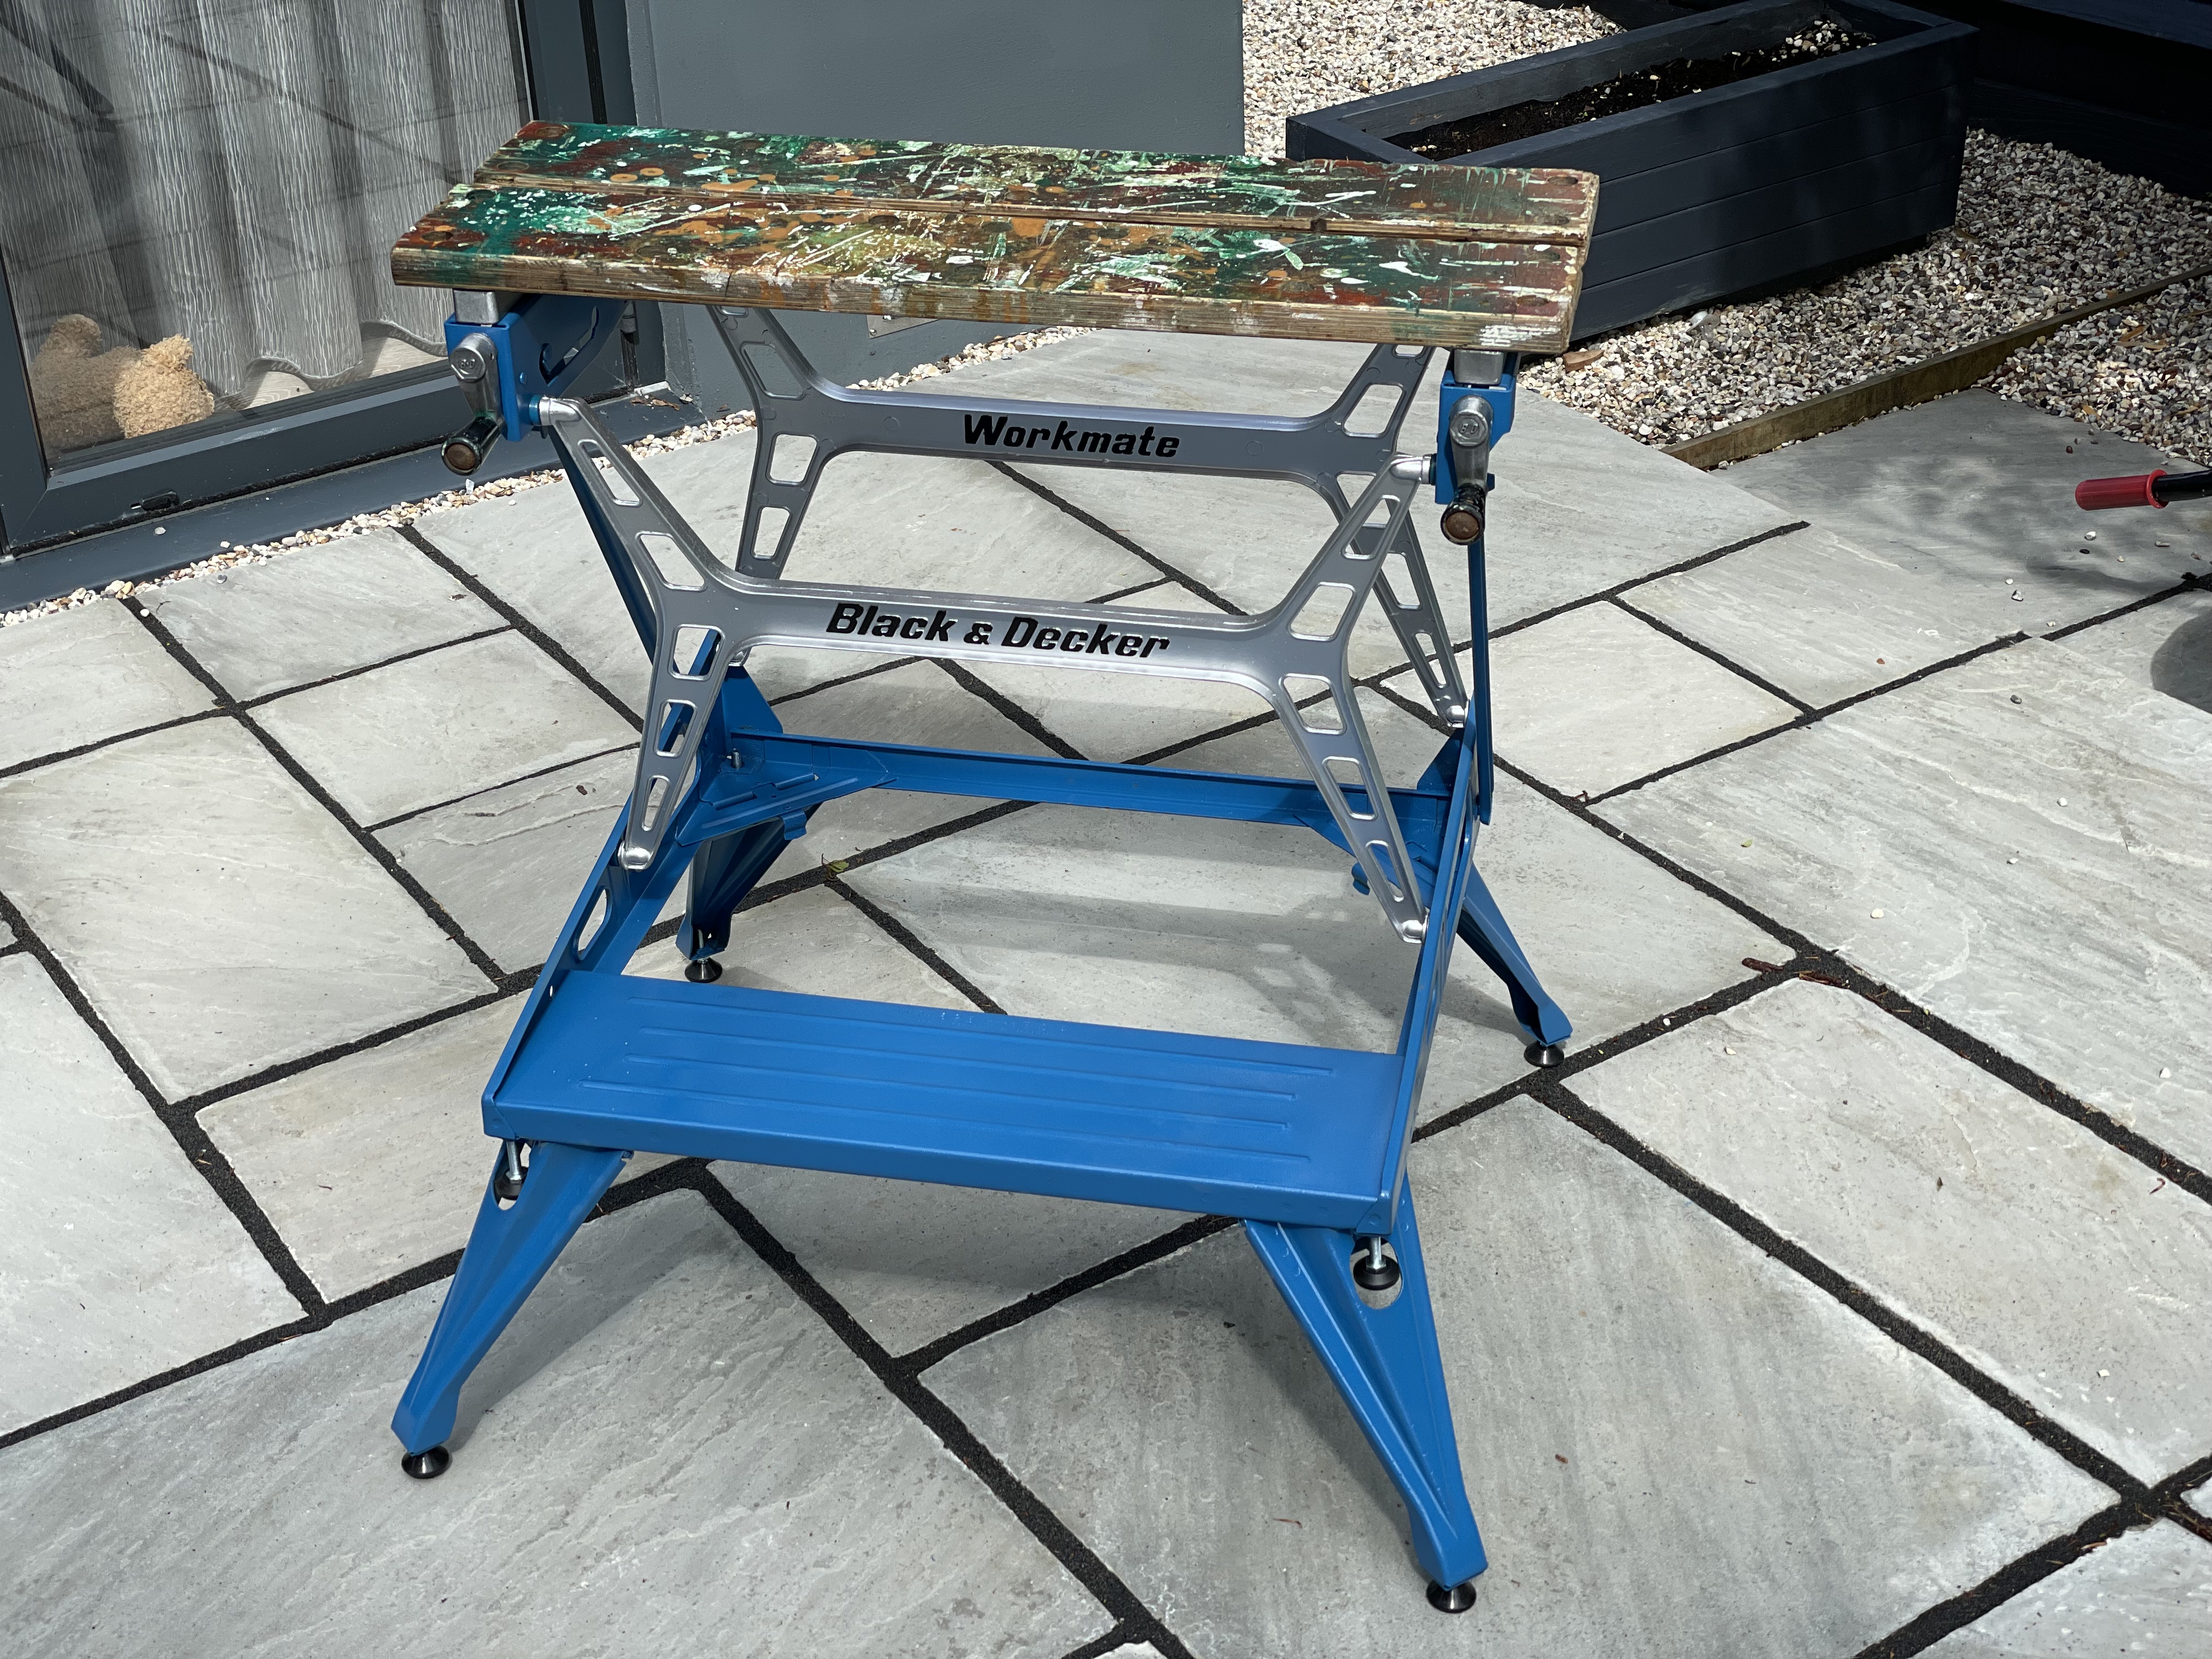
Black & Decker WM625 Workmate Restoration Part 8 – Finally Reassembled

  • 17/05/2021

After checking the blue paint daily I am satisfied that its now hard enough to attempt [careful] reassembly.

It was pretty much a reversal of disassembly, I put the legs back on first by drifting the hinge pins back in, and then stood the bench on it’s legs. Then the aluminium H frames went back in with a blob of synthetic grease on each one and tightened up the phillips set screws but not to tight otherwise it limits the folding action. 

The locking arm is next, with new 9mm starlock washers at either end, followed by the locking mechanism and the spring, not forgetting the small spacer washer and a blob of grease.

Once that was done the basic mechanism was complete and only waits the installation of the jaws, it really does go back together really quickly and is testament to the simplicity of the design.

I decided to leave the jaws in their original state which is covered in multiple different shades of paint, and I just coated the plywood in a couple of layers of clear topcoat lacquer in order to preserve them as the wood was very dry, no doubt due to it’s age.

All the aluminium spacer pieces were cleaned up on the wire wheel and sprayed with a nice coat of clear lacquer before being reassembled onto the bench. 

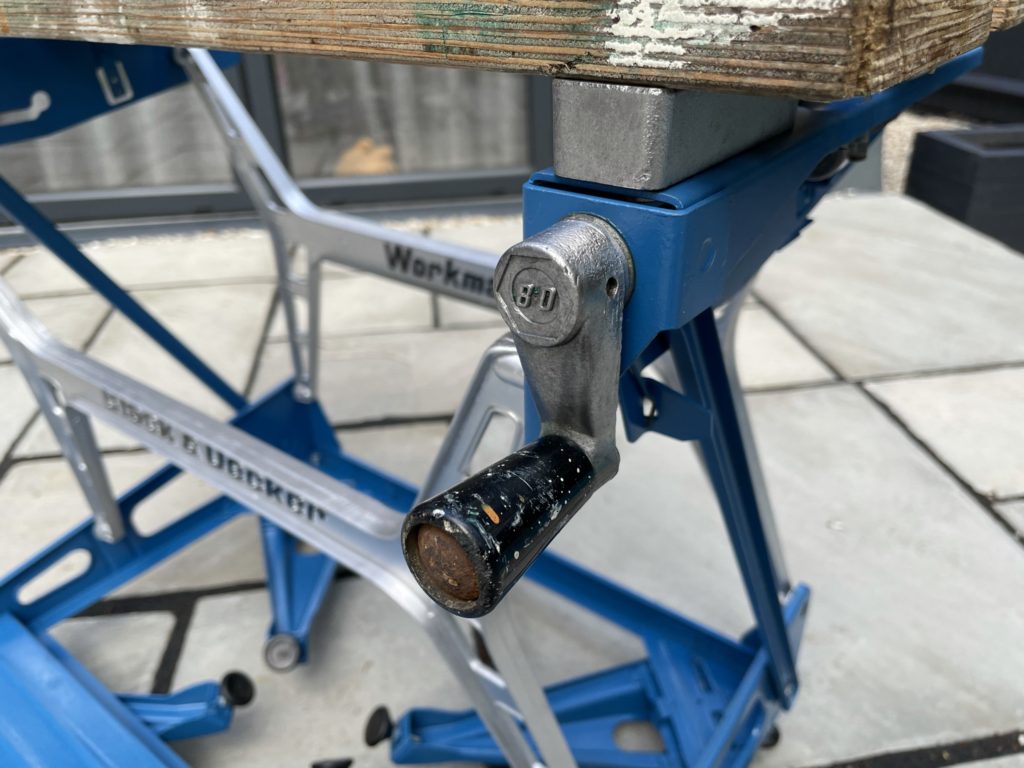
I then used some white lithium spray grease on the jaw grip screw threads and a blob of bearing grease on the washers by the handles and put them back together. Once they were in place, the handles which have also been lacquered were then reassembled and the roll pins drifted back into place.

The last thing to do was attach the new adjustable feet into place, I have gone of fixed feet on the main bench body and swivel foot types on the extension legs which give a nice solid base to the bench. I got the feet from Vital Parts online.


Finally, here’s a slideshow of the progress in a potted restoration history of my Black & Decker WM625 Type E04 Workmate from purchase until completion. Enjoy.

Black & Decker Workmate Restoration Part 7 – Top Coating in blue

  • 13/05/2021

 The primer dried off really quickly and I decided to hit it with the top coat the next day as the weather remained pretty good.

Again I have used Jawel Paints, this time I went for a 1K Synthetic Enamel paint as it’s much harder than other types of paint, ideal for tools and hard wearing equipment. The only downside is that it takes forever to dry and can take 2-3 weeks to cure fully.

Jawel Paints Enamel Paint

The colour I chose in the end was RAL5019. It;s not an exact match as it is a much more vivid blue than the original, but I bought this paint off of the internet after doing some searching, the RAL colour was mentioned as being similar. 

I did not want to have to resort to having to obtain RAL colour chips and matching it up exactly so I went for one that is close enough.  

Having cut up a few metal coathangers to hang the parts from, I set about mixing up some paint and getting it into my gravity spray gun.

Here’s the result. Initially the paint went on nice and smooth, but I adjusted the gun a little bit and did not notice whilst spraying that the gland nut around the trigger had worked loose, this seemed to affect the finish and impart a bit of texture, however I am actually quite happy with it, after all it’s a work bench.

As you can see from the image below, the new paint is not an exact match for the complete workmate next to the newly sprayed one, but I think it’s not too bad and still holds a similar tone. I see it as a modern take on a classic.

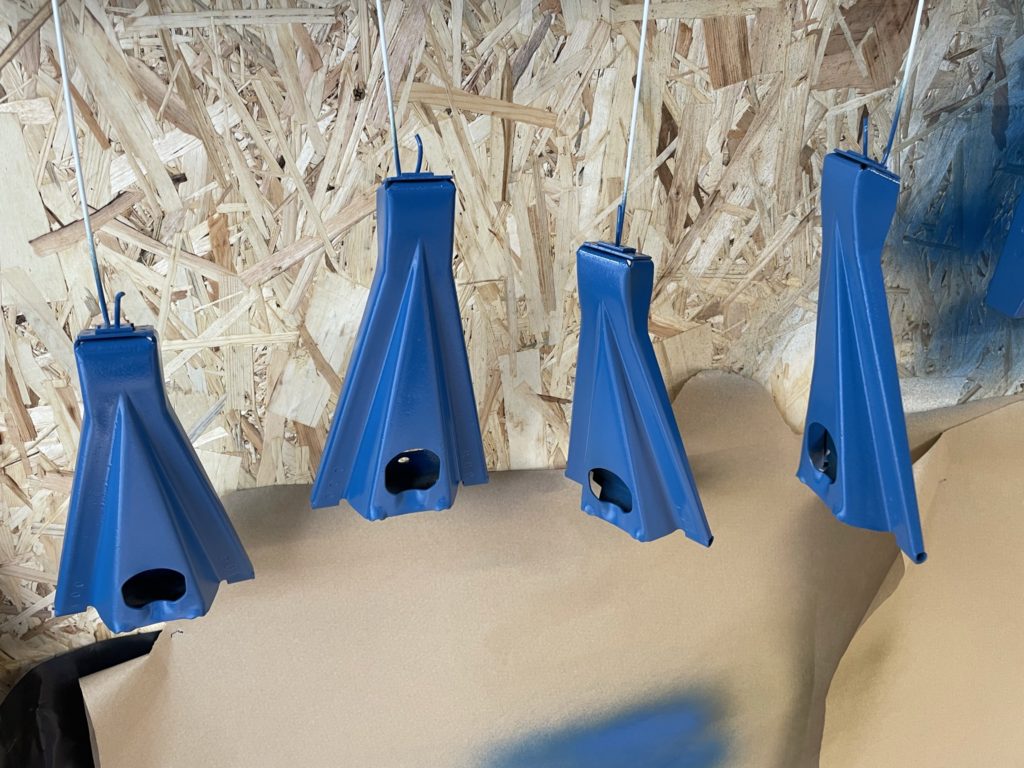
The four legs in all their freshly painted glory.
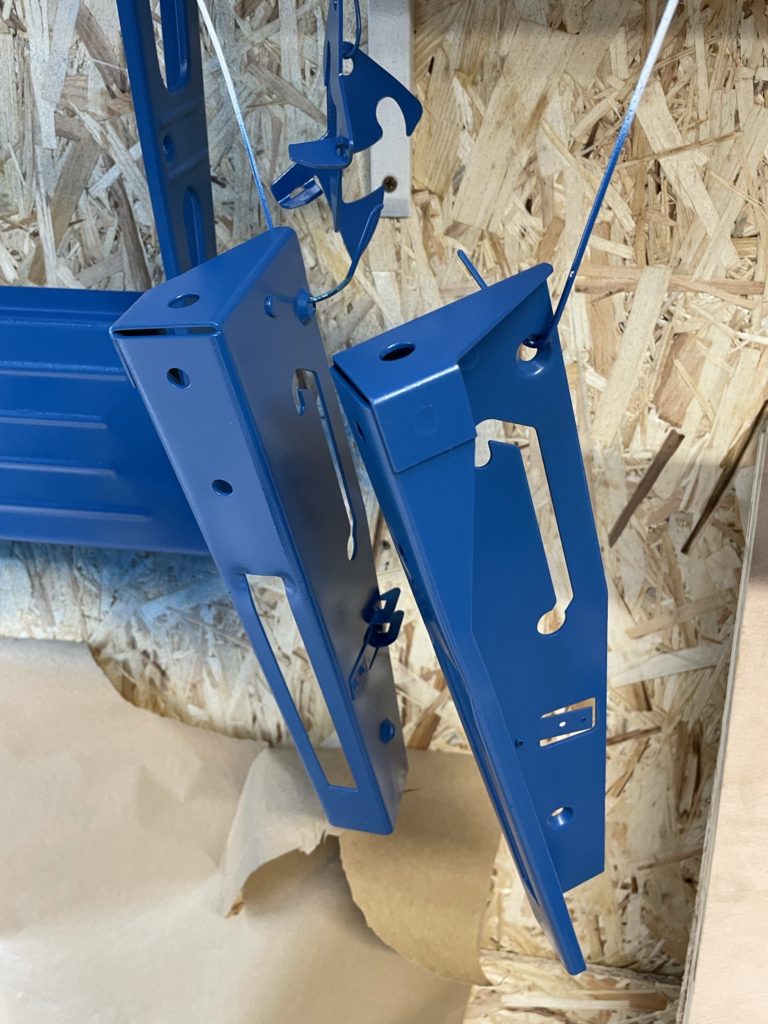
The side rails that hold the H frames and the jaws.
These are the leg hinge pins all painted up.
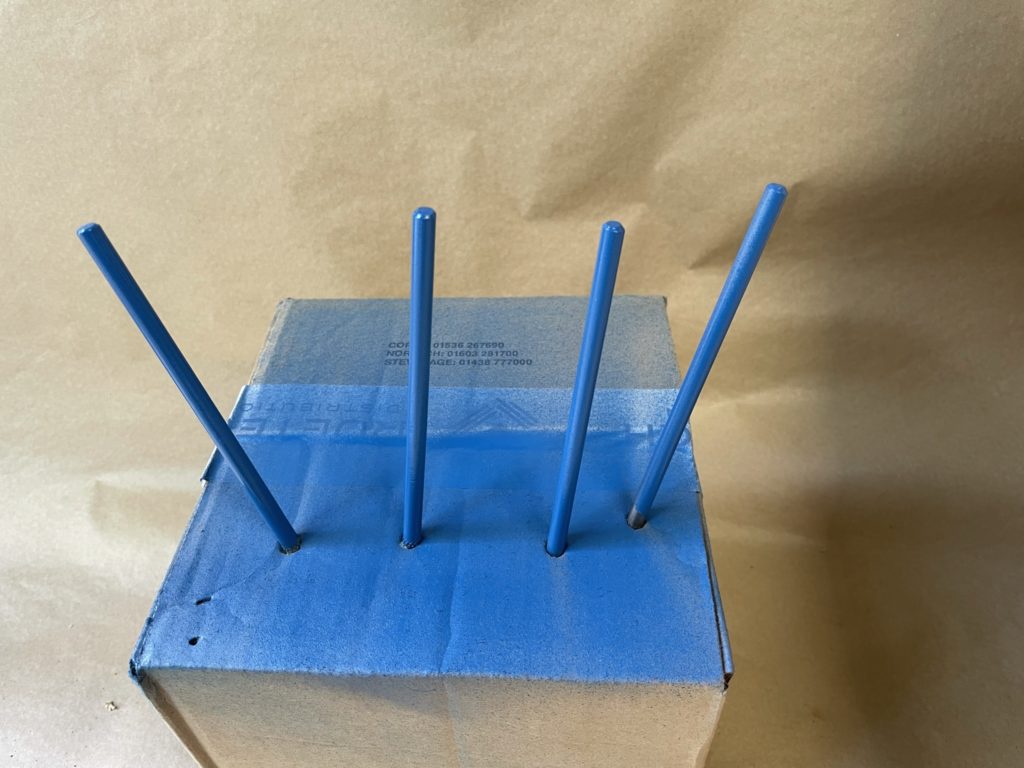
Now all I need to do is wait a couple of weeks for the paint to harden and I can start reassembly.

Black & Decker Workmate Restoration Part 6 – Priming with Paint

  • 06/05/2021

The weather here in March and April of 2021 has been quite unpredictable and left very little opportunity to actually apply some paint to my workmate without risking it getting damp and spoiling the finish.  I have degreased the parts several times now in preparation for the painting with panel wipe and thinners but have been foiled time and again by poor weather or just being far too cold.

However, the beginning of May yielded some fine weather for a day or two so I got straight on to mixing up a bit of the 2K Etch Primer that I got from Jawel Paints. It’s an odd yellow/green colour and is almost translucent, not sure why but I was expecting a grey build primer but this is nothing like that. 

Etch primer has much better adhesion to metal than standard primer and I thought that was important on a working tool.Jawel Paint 2K Etch Primer

The paint itself needs to be mixed with a hardener and sprayed outside or in a very well ventilated area and breathing apparatus is essential as the paint contains isocyanates. I use a 3M face mask with organic particulate filters and made sure I was outside and downwind of any paint overspray.

After about 4-5 thin coats, the parts have taken on an almost olive drab colour and I am pretty pleased with how even it is. 

Black and Decker Workmate Restoration Part 5 – Stripping more paint

  • 20/03/2021

Having painstakingly stripped back most of the paint on the workmate using a wire brush in a drill,  I noticed that the legs can be detached by drifting out the hinge pin, allowing easier access for the paint stripping and subsequent painting so I grabbed a drift and a hammer and drifted the pins out and removed the legs. You may need a pair of mole grips to help get the hinge pin out the full way as the hinge pins are quite a bit longer than the drift you can see in the pictures.

Just a little more paint removal and then I will have reached the stage where I can degrease the whole thing and apply some paint.


Parkinsons Perfect Vise Model F No 7 part 2

  • 19/01/2021

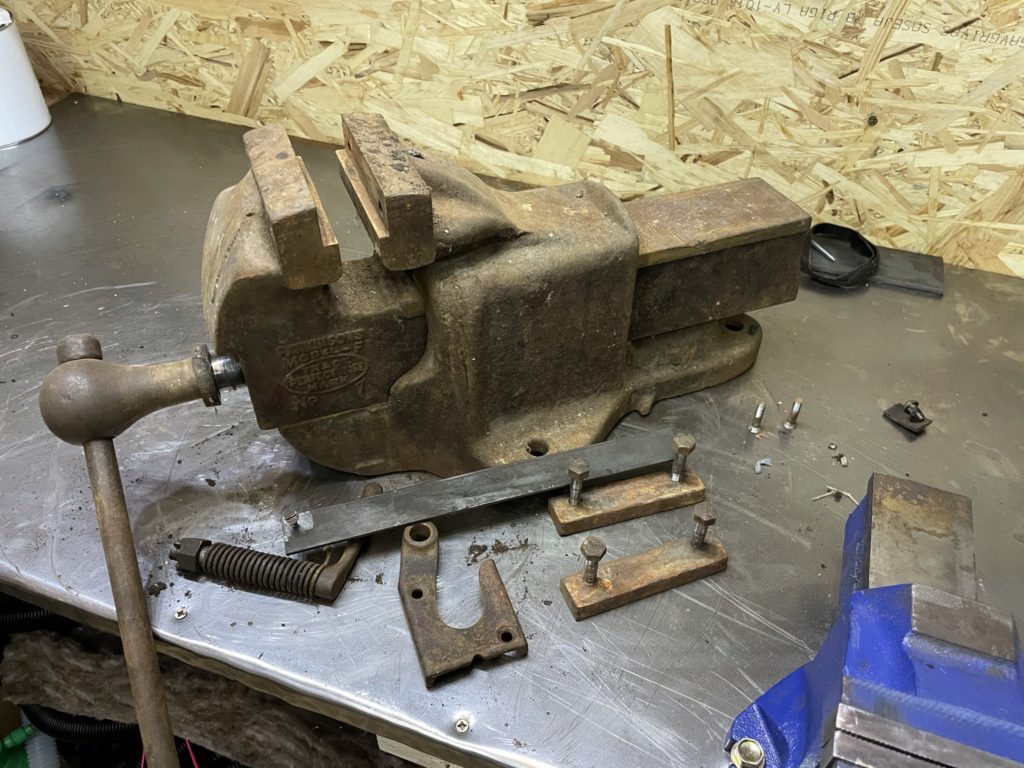
Started to strip down the vice, which is much simpler than I thought. 

Off come the jaws with two bolts each, these look like imperial bolts and the threads are not so great. Set them aside.

First I turned over the vice and removed the screw holding the quick release bar and pulled out the bar which causes the spring to release. Slide off the adjuster ratchet nut and the spring.

Then two screws at the front of the vice below the handle and the mechanism comes away leaving the handle next to be removed.

Turning the vice around the screw is removed by using a drift to knock it forwards and then it can be withdrawn from the body of the vice taking care not to lose the washer at the rear of the screw that falls out as you remove the screw.


Once the screw is out, the two halves of the vice can be separated. The securing nut that engages the adjustment screw is withdrawn from above and the vice is now totally dismantled.

I gave each part a wire brushing with a grinder knotted wire brush and a bench mounted grinder with a wire brush as appropriate. The machined surfaces were treated to a flap disc and then some sandpaper to finish. Years of muck and old paint were stripped away as best I could, then everything was wiped down with a thinners soaked rag to degrease.


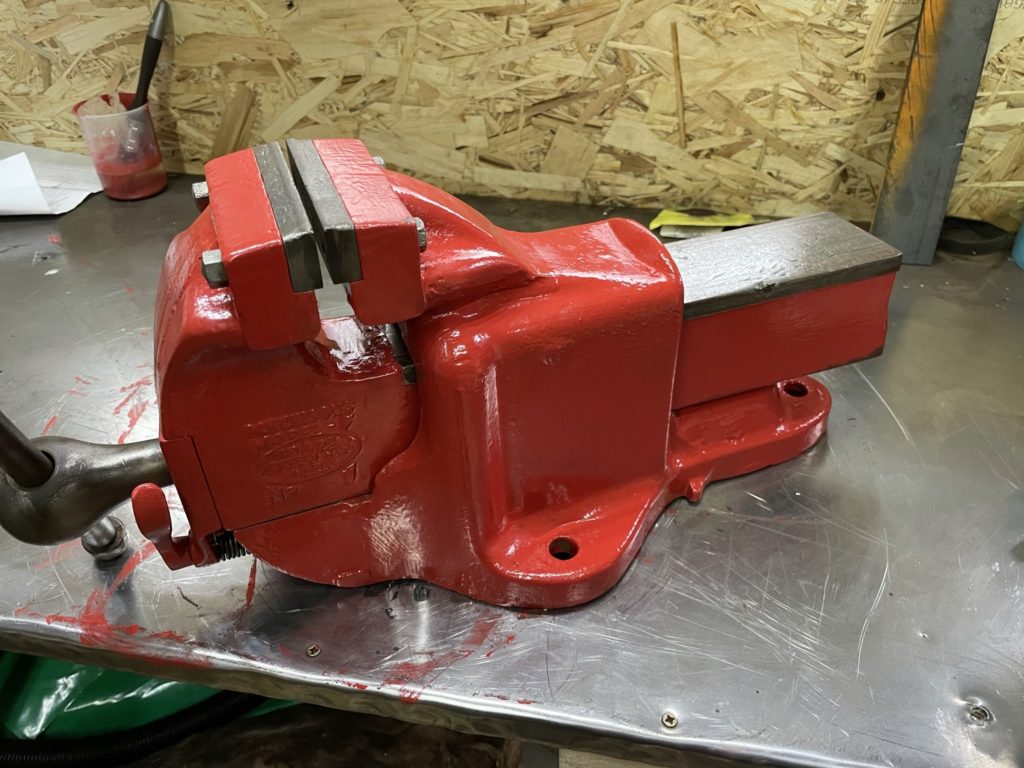
After degreasing, I masked up the machined surfaces ready for a coat of paint. Hammerite Smooth Red was my choice as the original vice was red.

It was about 1-2 degrees C in the shed when I painted the parts, the Hammerite was really thick and gloopy, I had to bring it inside and warm it up a bit before continuing.


I didn’t photograph any of the reassembly as there was grease everywhere but there really was not much to photograph, it was pretty simple really.

Here it is in all it’s restored glory, looking resplendent in red. I also painted the underneath that you cannot see.

Parkinson Perfect Vice Model F No 7

  • 14/01/2021

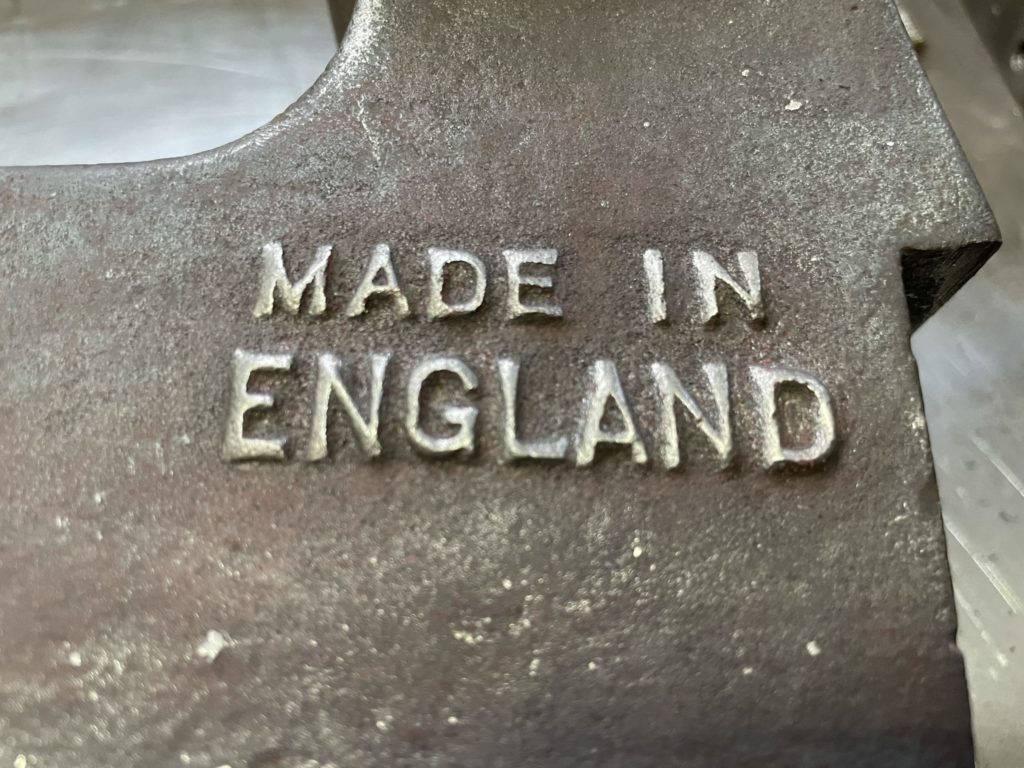
I picked up this vintage vice which looks like it was made in the early 1900’s for £40 off of Facebook Marketplace and have decided to restore and use it.

Its a big lump and a search on the internet shows that it used to be red once upon a time. I’m going to strip it down and clean it, paint it up and then rebuild it. 

It seems in really good order, no remarkable damage and it actually still works fine, just looks a bit rough.

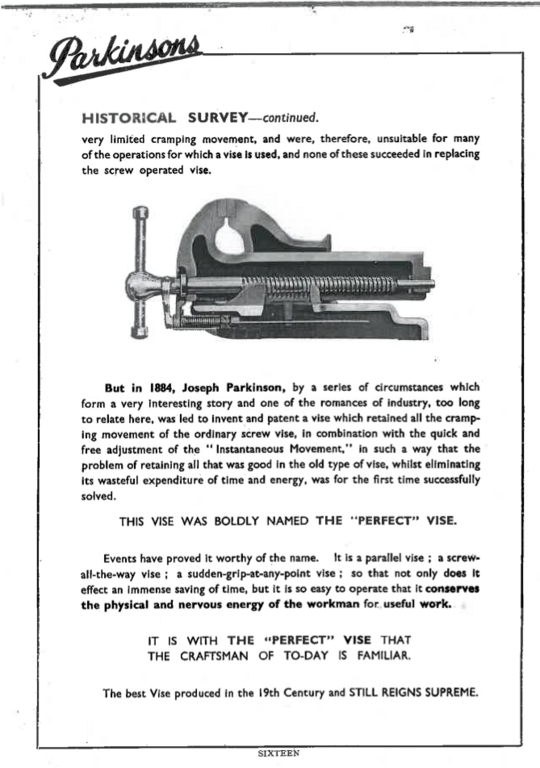
Here’s some vintage marketing material about the vice, I notice how they refer to it as a “vise” which is the American term, even though Parkinsons is an English company.

There is very little information about Parkinsons online but from what I could find out, they are the original design vice which Record copied the patent for after it expired.

I’ll update this page with my progress as I get a chance to work on it. It’s currently tipping it down with rain and if I work on it in the shed with the door shut it gets a bit nasty in there. 

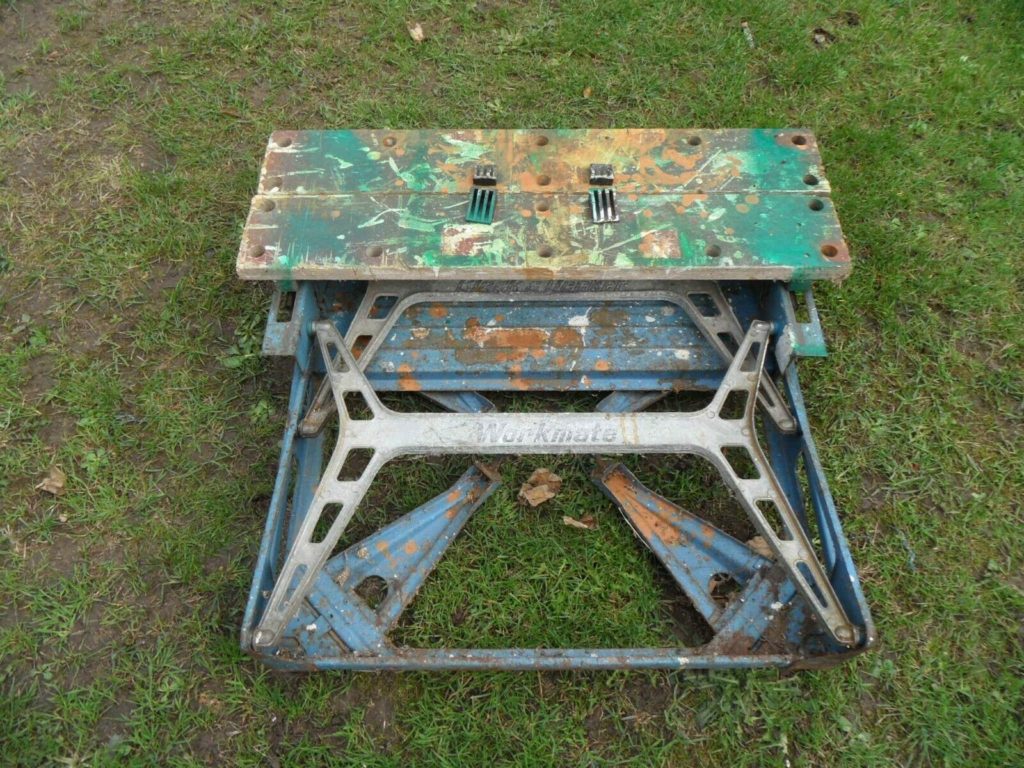
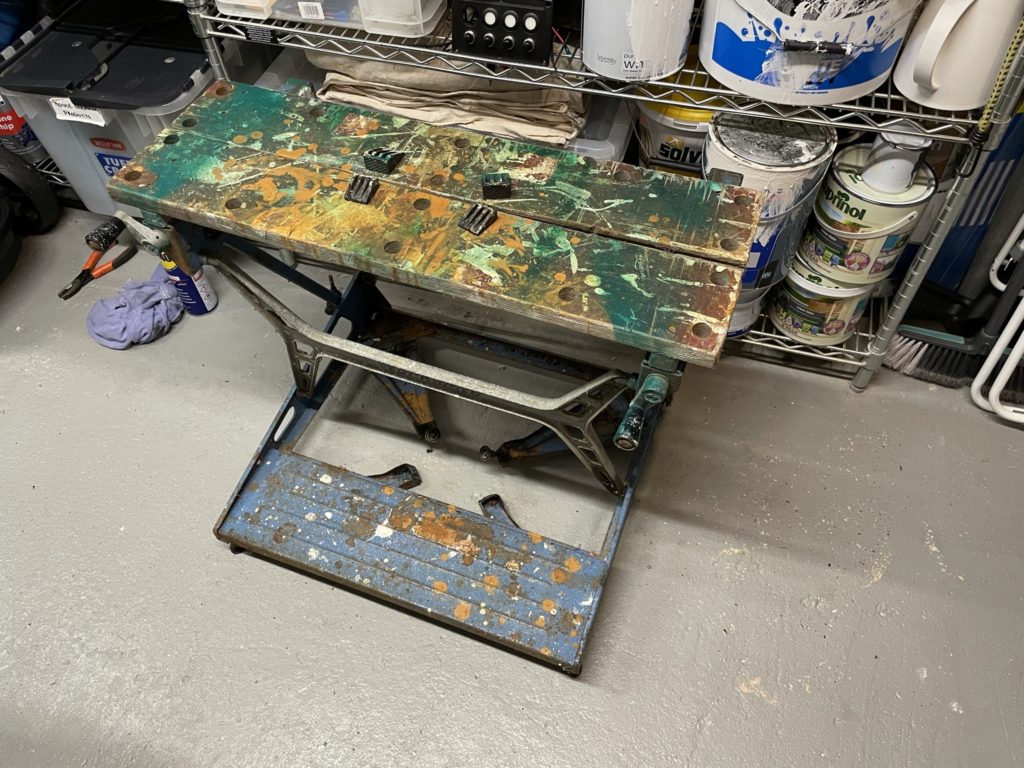
Bought another WM625 Black and Decker Workmate

  • 06/12/2020

So my obsession with obtaining these excellent vintage Black & Decker workmates continues much to my wife’s annoyance. 

I was flicking through marketplace yesterday and I saw another B&D workmate WM625 advertised on Facebook and thought I’d go after that one too.

Dropped the guy a quick message and the deal was done. No messing about on the price, gave him what he wanted. £40. Just a quick trip to South Ockenden to collect on a Sunday afternoon.

Got it home and after a quick wipe down in the utility room by the girls to get off the dust, don’t even think this one needs any restoration, it’s pretty much perfect.

Everything works as it should. the jaws are a little stiff to adjust so I’ll strip and clean the drive screw and re-grease when I get a moment.

For now, it’s a beer by the fire and a watch of Blue Planet II with my favourite David Attenborough. Merry Christmas.

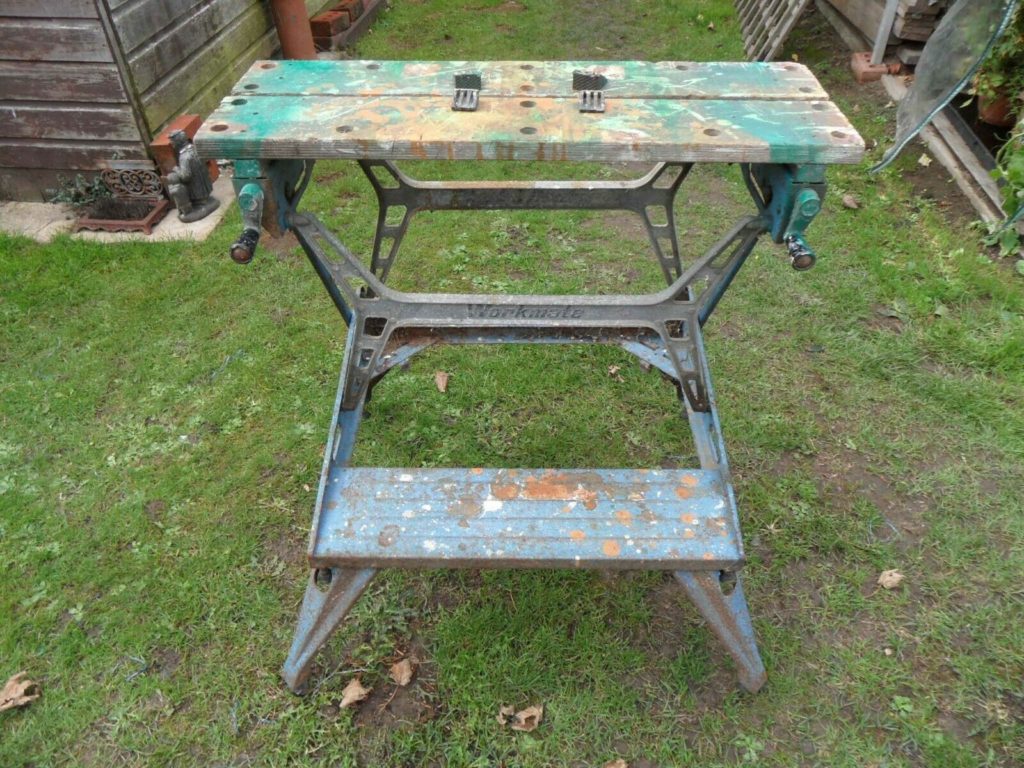
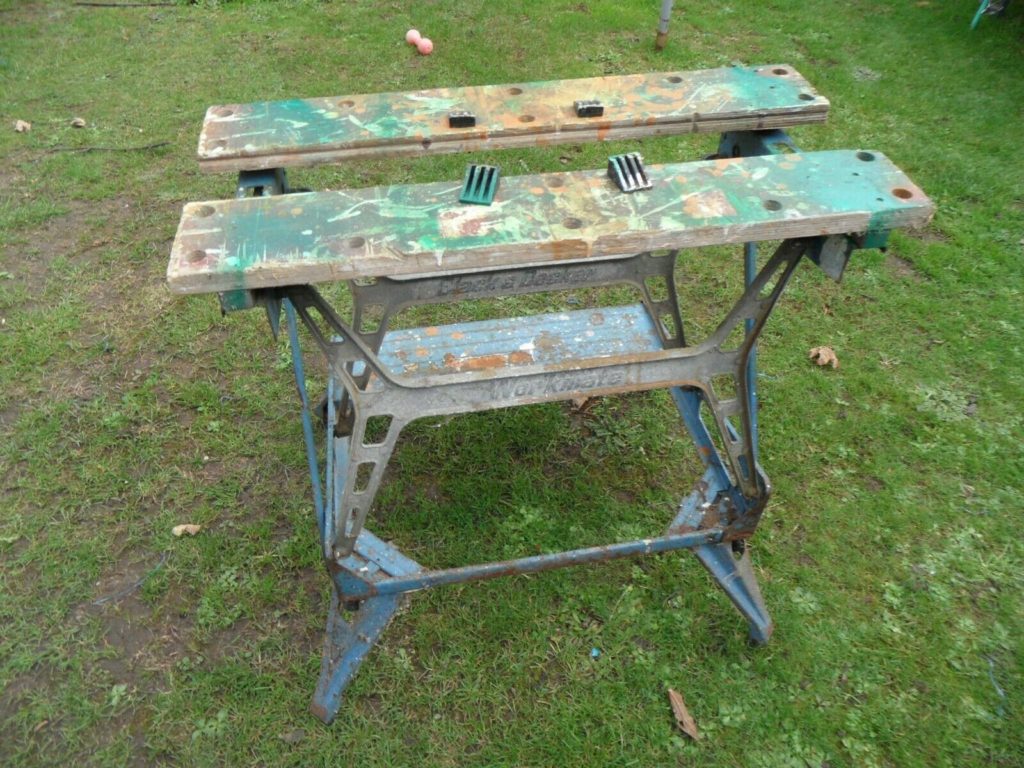
Black and Decker WM625 Workmate

Black & Decker Workmate Restoration Part 4 – Paint Stripping

  • 02/12/2020

The next stage in my Black & Decker Workmate WM625 restoration is to strip off the old paint and rust.

The aluminium parts are first, these are relatively easy to clean up, I just clamped them carefully into a vice and then ran over them with a wire brush in a battery drill, this takes off the surface corrosion really easily but PPE is definitely a must as there is a lot of dust and flying wire strands.

Below is a before and after cleaning shot

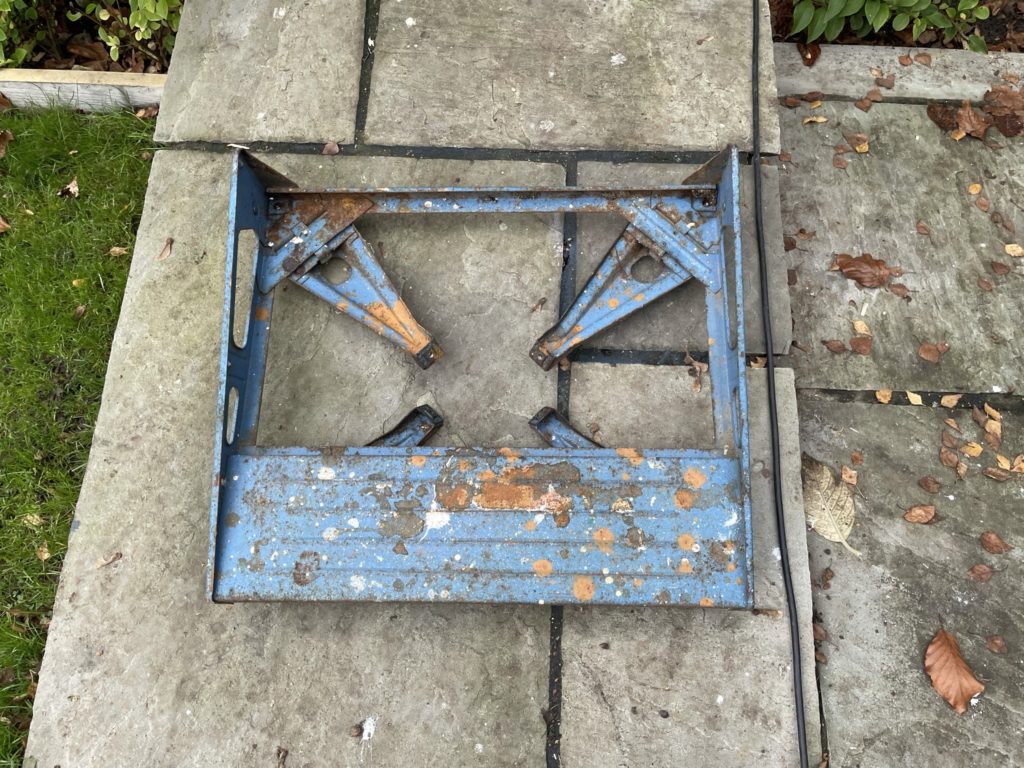
You can clearly see all the corrosion on the steel parts that will need to be cleaned up properly before repainting. I will try and remove as much as possible with a grinder and wire wheel before using the sandblaster which still has not arrived from Machine Mart yet.

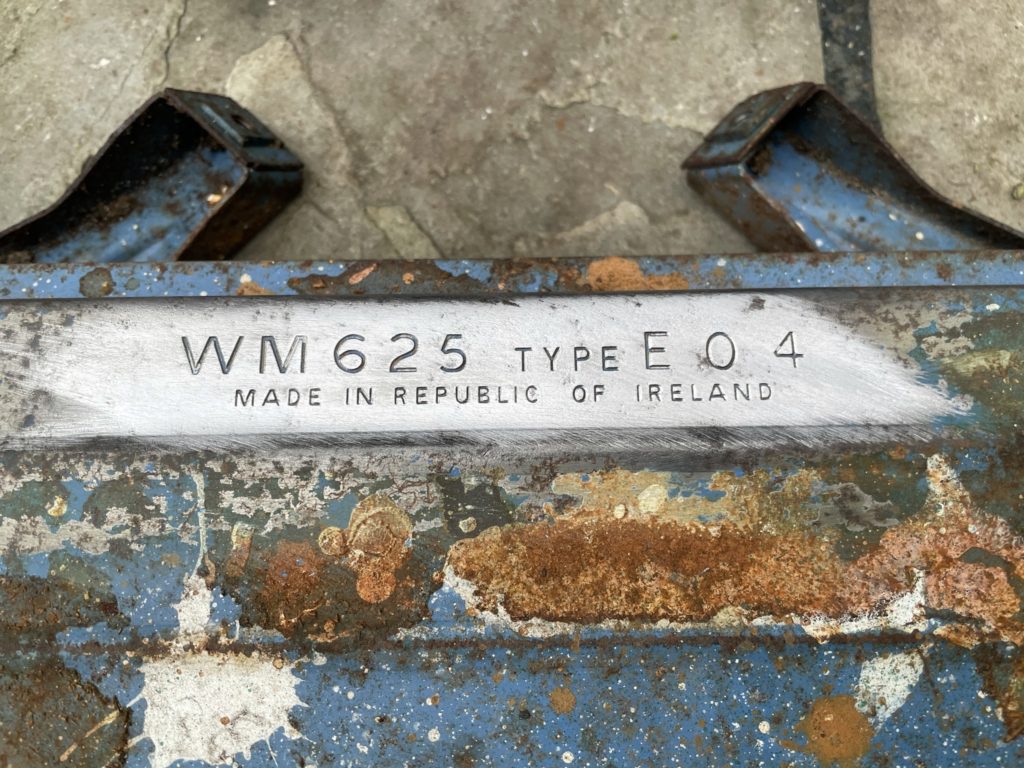
Just before I started on the step part of the base I noticed there is a model number stamped into it. I cleaned it up and it clearly shows the model as a WM625 Type E04 that was made in the Republic of Ireland. 

Black and Decker Workmate Restoration Part 3 – The Stripdown

  • 30/11/2020

I found a bit of time and braved the freezing cold garage to start the stripdown of my Black & Decker Workmate WM625. 

After taking off the wooden jaws which was a simple operation which involved removing of two screws which hold the rear jaw adjuster block to the adjustment screw. 

After removing this, there is a roll pin in the adjustment clamp handle which is easily drifted out to entirely remove the adjustment clamping screw. 

This exposes the machine screws that hold the plywood jaws on and allows them to be removed.

The next few steps seemed to fly past as I got right into the strip down and it was much easier than I thought. 

The starlock washers were levered off and the locking mechanism was removed leaving only the base connected to the jaw supports by the aluminium H sections.

The final disassembly step is to remove the already loose machine screws and pull it all apart.

By now the top part is completely removed, two more machine screws each side and the aluminium H supports are totally removed. It’s interesting to see there are hard plastic bearings between the steel jaw support and the aluminium H frame to prevent premature wear.

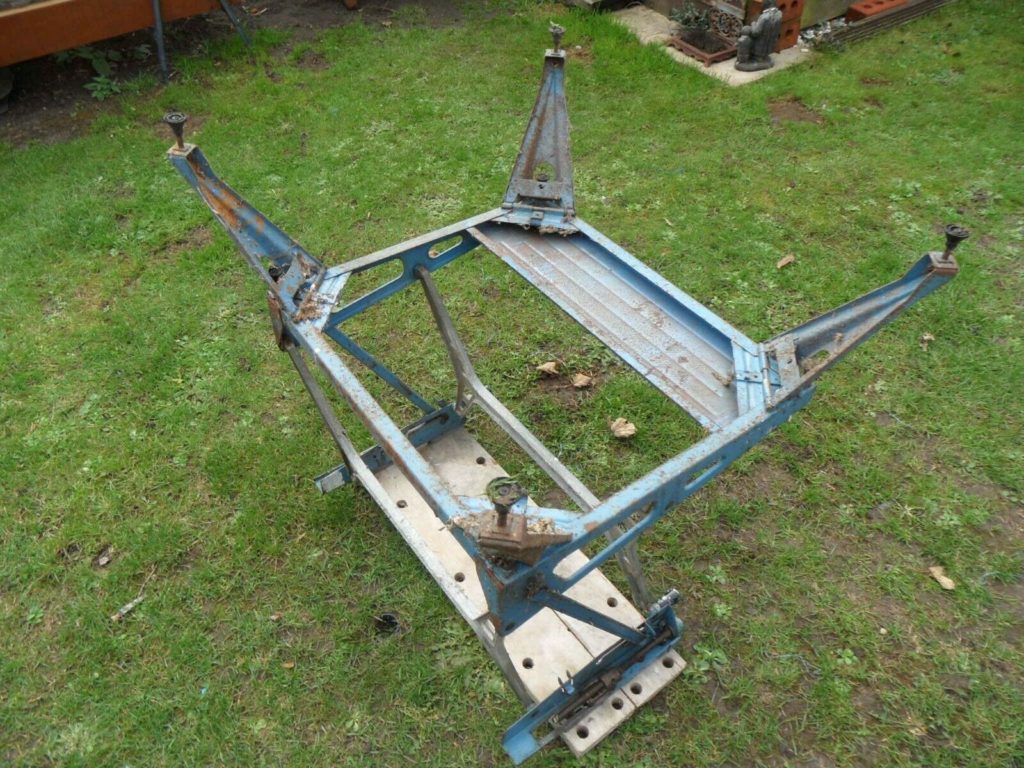
Here is the entire bench disassembled into its constituent parts. Next job will be paint removal.

I plan to remove as much of the paint as possible with a grinder and wire brush, the rest I will try and remove with a sand blaster which I have just ordered from Machine Mart.